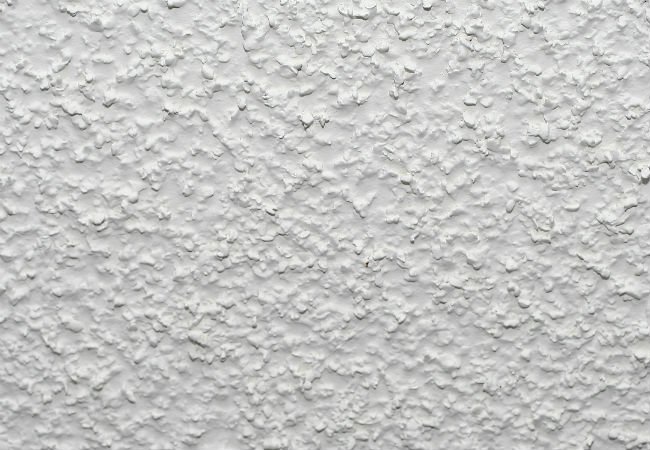
Many style ideas have come and gone in home décor in the many years home style has been around. Many of them are easy to change, but others are more expensive and time-consuming to fix. One of the most perplexing styles of the 50’s and 60’s was popcorn ceilings. They are not only an unsightly style but also one the of the most difficult and expensive things to change.
If you can’t handle the look anymore, or if you think there might be asbestos or other dangerous items and want to get rid of them there is a way. Follow these steps to free your ceiling of the popcorn.
Check for Asbestos
There is a good chance that if you built your house before 1977, there could be asbestos in the popcorn ceiling. Asbestos can cause all kinds of health problems, so before you start working with your popcorn ceilings, make sure to check. There are kits available that you can use to test for asbestos.
Tools
Before you start, you will need a plan and tools to help with your project. What do you need?
Destroyable clothes – While working with a popcorn ceiling and potentially asbestos, be prepared to wear clothes that can be thrown away afterward. While working with popcorn ceilings doesn’t guarantee they will be, you don’t want to wear clothes you treasure. You should also have head and eye protection for things that might fall from the ceilings.
Sprayer – You will need some water sprayer, like a garden hose and some fabric softener to loosen up the ceiling.
Scraper – When removing the ceiling you will need a scraper. A metal trowel or drywall knife will work. There are also special popcorn scrapers made explicitly for scraping popcorn ceilings.
Drywall joint compound – Drywall compound is also known as mud. To scrape the mud, you can use a putty knife or the scraper you already have.
Sander – To smooth out the ceiling you will need a sander. For easier sanding, there are ones that attach to poles that allow you to sand from the floor.
Paint – When you are done with the ceiling paint it with some flat white latex. For better coverage, get enough for two coats of paint.
Clear things out
Take some time to get rid of everything you can in the room. Remove all furniture and anything you don’t want to make a mess on. If you can’t remove something, make sure it is well covered.
Spray
Prep time is over. Now you start the hard work comes in. Spray down the ceilings with as hot water as you can and add some fabric softener so you can loosen up the popcorn ceiling. Once the roof is thoroughly wet and covered, you are ready for the next step.
Removal
Removal of the ceiling is why you are here. Carefully remove the wet roof with the scraper you are using. Use caution when it comes to the removal, so you don’t make any unwanted dents below the surface of the popcorn.
Sanding
After you have the done the hardest part of removing the bumpy surface, it is now time to smooth it out. Use a sander to smooth out the rough spots. You don’t have to push very hard, just enough to soften the sharp spots left over on the ceiling.
Inspect
Make sure to check the ceiling for any rough spots, holes or imperfections that remain. Take a few minutes to repair any places, if necessary before moving on to the next step.
Paint
Now is the fun part. The finish of your smooth ceiling with the color of your choice. We recommend two coats to be thorough.
Now that you have taken all the steps to get your ceiling free of popcorn you home will look better and be safer from the possibility of asbestos.
https://www.realtor.com/advice/home-improvement/how-to-remove-popcorn-ceiling/